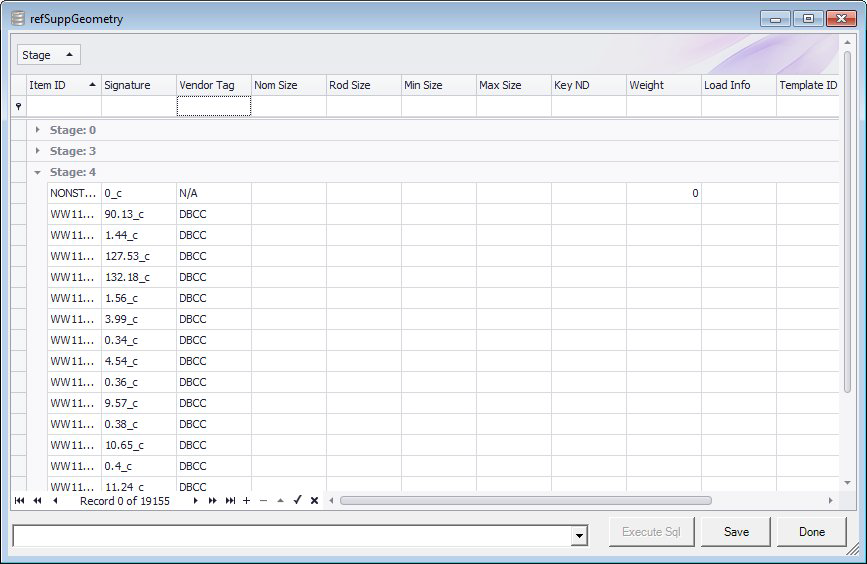
Create Stage dialog
Select Create stage to create a standalone database with the Process Table entries. If a stage database doesn't exist, you will be prompted to create a new database.
Whenever the Create icon is selected, a new stage is created and added to this dialog. The grid lists all of the stages that have been created for the new catalog components. The column headers are presented as they appear in the refSuppGeometry table.
Note: To see how actual component records are displayed, click the Reference Browser > Support Parts option from the navigation pane.
Note: Stage 0 is the default stage which lists all of the component currently in the refSuppGeometry table.
| Setting | Description |
|---|---|
| Sort/Filter | In the Stage filter at the top of the grid, you can sort the stage list in ascending/descending order and/or filter which stages are displayed. |
| Data Grid | The data grid lists all of the stages defined for the database. It will create new records from the Process data table each time with a new Stage number. These items can be modified or deleted. Multiple records can be selected by holding down the <Crtl> button while picking. Whole stage group can be deleted by selecting the group and then selecting the - button at the bottom of the grid. |
| SQL Statements | In the field to the bottom right you can define a SQL statement(s) which can be used to define values for the data grid based on certain criteria. Below is a simple example: Update refSuppGeometry set Weight = 2 where Stage = 2Once the statement is defined, click the Execute Sql button see the results in the grid. |
| Execute Sql | Executes the Sql statement and displays the results in the data grid. |
| Save | Click to save any changes to the database. |
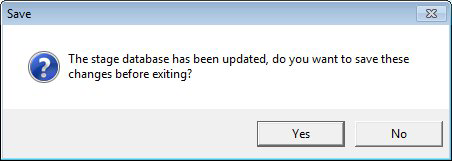
| Done | Click to close the dialog. If changes were not saved to the database, you will be prompted to save them. |